how to put a light on stair outdoor
How to Put a Light on Stair Outdoor: Step-by-Step Guide for Safe and Stylish Stair Lighting
If you are wondering how to put a light on stair outdoors to improve safety or make your outdoor space more inviting, this guide has you covered. We will walk you through everything step by step. From deciding why you need the lights, choosing the best type (solar, battery, or hardwired), and planning the perfect layout. You will learn how to gather the right tools, install the lights (whether they are solar or wired) and protect them from weather damage. Once installed, you can even test them and add timers or sensors for extra convenience. Moreover, we will explore creative outdoor lighting ideas like recessed lights, LED strips and more to add style to your stairs. So if you follow these easy steps, and you will have a well-lit, beautiful outdoor staircase.
Step-by-Step Guide on How to Put a Light on Stair Outdoor
Besides safety outdoor stair will give your home a look cozy and inviting. If you want to install lights for better visibility or want to boost the overall look, this guide will help you with everything. So, explore the step by step on how to put a light on stair outdoors in the easiest way.
Step 1: Determine Your Lighting Needs
Before choosing your lights, think about why you need them. Are you installing them to make your stairs safer at night, or are you looking for a way to decorate your outdoor space? If you want a bit of both. For safety, you will wish to have brighter lights that clearly show each step. But for a nice, calming vibe, softer lights could work better. Also, remember the weather conditions, if you get a lot of rain or snow, you will want something durable. That’s why knowing your needs will make it easier to pick the right lights.
Step 2: Choose the Right Type of Lights
Once you have figured out why you need the lights, the next step is picking the right kind. You have got three main choices:
- Solar-powered lights: This is an excellent choice for many people because they are eco-friendly and don’t need wiring. However, they need plenty of sunlight to work well.
- Battery-powered lights: The setup process of this light is easy and can go almost anywhere. Just remember, you will need to change the batteries from time to time.
- Hardwired lights: These lights are reliable but they do require some electrical work. Sometimes it can be a little tricky If you are not comfortable with wiring.
You can buy any lights from these options that suit your budget and how much work you are willing to put into the installation.
Step 3: Plan the Lighting Layout
After you choose what light you gonna use now it is time to plan where to put them. Measure your stairs and decide how many lights you will need. Do you want a light on each step or would placing them along the side of the stairs work better? Make sure the lights are spaced out enough to cover the entire staircase without leaving any dark spots. If you are using solar-powered lights, keep in mind that the panels will need to be in a spot that gets enough sunlight during the day.
Step 4: Prepare Tools and Materials
You need to gather all the tools before you start the installation process. The tools you will need depend on the type of lights you choose. For solar or battery-powered lights, you will mostly need basic items like screws, a screwdriver and adhesive strips. For hardwired lights, you will need more tools like a drill and wire connectors. Additionally, Sometimes you may need help from an electrician.
Step 5: Installing Solar or Battery-Powered Lights
If you are going with solar or battery-powered lights, lighting installation is usually quick and easy. For solar lights, make sure to place the panels where they get plenty of sunlight. Fix the lights to the steps or walls with screws or adhesive, and make sure they are in the right spot to light up your stairs. If you are using battery-powered lights then mount them with screws or adhesive strips.
Step 6: Installing Battery-Powered Lights
Battery-powered lights are a quick and easy option to light up your stairs. Just attach them using screws or adhesive strips in your chosen spots. Make sure to test the lights before finalizing the placement to ensure they provide the right amount of brightness and coverage. You need to replace the batteries occasionally.
Step 7: Installing Hardwired Stair Lights
Hardwired lights are a more permanent option but installing them takes a bit more work. First, you need to make sure that you turn off the power before you start handling any wires. You will need to drill holes and run the wires through them to connect the lights to your home’s power source. If you are not familiar with electrical wiring, it’s best to call an electrician to help with this step.
Step 8: Apply Waterproofing Measures
Outdoor lights face rain and snow, that’s why you need to make sure they are waterproof. Most outdoor lights are made to handle the weather but it is always a good idea to add extra protection. You can use a silicone sealant around any openings or connections to keep moisture out. If you are installing hardwired lights, make sure the wires are protected too so that they don’t get damaged by water.
Step 9: Test the Lights
Once your lights are installed now it’s time to test them. Choose any dark areas. Turn on the lights and walk up and down the stairs at night to see how well they work. Make sure the lights are bright enough to see clearly. If something isn’t working, double-check the connections or make adjustments to the placement. Especially for solar lights, you may need to wait a full day for them to charge properly before testing.
Step 10: Optional: Set Up Timers or Sensors
You can add timers or motion sensors to your stairlights for more comfort. Timers allow you to set specific times for the lights to turn on and off automatically, which is great for energy savings. Motion sensors are another option. Motion sensors turn on the lights whenever someone approaches, which is handy for both safety and security. While this step is optional, it can make your lighting system even more efficient and user-friendly.
Outdoor Stair Lighting Ideas: Simple Ways to Light Up Your Stairs
Lighting your outdoor stairs is not just about safety but also about creating a cozy, inviting atmosphere. If you want practical lighting or a stylish touch, here are some easy and creative ideas for lighting your steps:
- Recessed Stair Lights: Installing recessed lights directly into the stair risers will give them a modern and minimalist look. These lights are subtle but provide just enough brightness to make each step safe without overwhelming the design.
- LED Strip Lights: You can place LED strip lights under each step to give your steps a lovely and floating glow. They are energy-efficient and available in different colors.
- Solar-Powered Lights: If you prefer an eco-friendly, no-wiring option then solar-powered lights are perfect. Install them along the sides of the stairs or the railing for a hassle-free solution that saves energy.
- Wall-Mounted Lights: Wall-mounted lights provide both function and style for stair sear walls or fences. They come in various designs and offer a practical yet decorative option for illuminating your stairs.

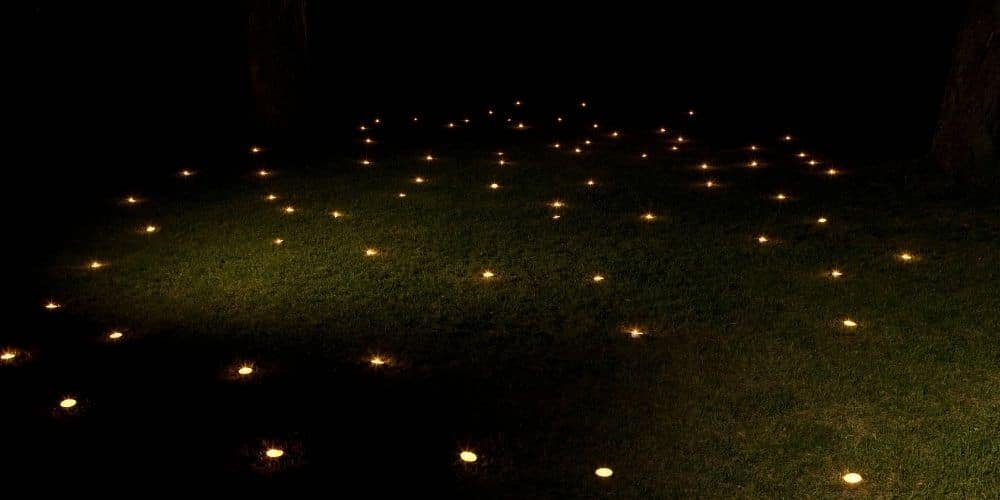
- Ground-Embedded Lights: You can install lights in the ground on either side of your stairs for a dramatic effect. These lights shine upward and make your staircase a standout feature in your outdoor space.
- Motion-Sensor Lights: You can save energy with motion-sensor lights because they only turn on when someone approaches. It is ideal for staircases not used frequently, these lights offer convenience and added security.
- String Lights on the Railing: Wrap string lights around your stair railing for a warm and cozy ambiance. They are easy to install and add a magical touch. Overall, they are perfect for evenings or special occasions.

- Lanterns on Stair Posts: For a timeless look, place lantern-style lights on the posts of your stairs. Lanterns give a soft, warm glow that makes any space feel cozy and welcoming. It comes in various styles so that it can match any outdoor decor.
- Built-In Deck and Stair Lights: For a seamless design, integrate built-in lights into your deck and stairs. This option provides even lighting without visible fixtures. It gives your outdoor area a clean and modern look.
- Color-Changing LED Lights: You can consider using color-changing LED lights for a fun and playful touch. You can easily control it with a remote or app. They allow you to switch up the colors for parties or seasonal decor.
Conclusion:
Lighting your outdoor stairs can boost both safety and style. This guide helps you choose the right lights and plan their placement. No matter if you choose solar, battery-powered, or hardwired options, they’re easy to set up. You can ensure everything works perfectly with some simple steps, like waterproofing and testing. There are many ways to brighten your stairs and create a welcoming atmosphere. Enjoy your beautifully lit outdoor space!
